
Hi my dear crafters!
Spring is in the air – so I have a wonderful sewing idea for you which brings spring into your home.
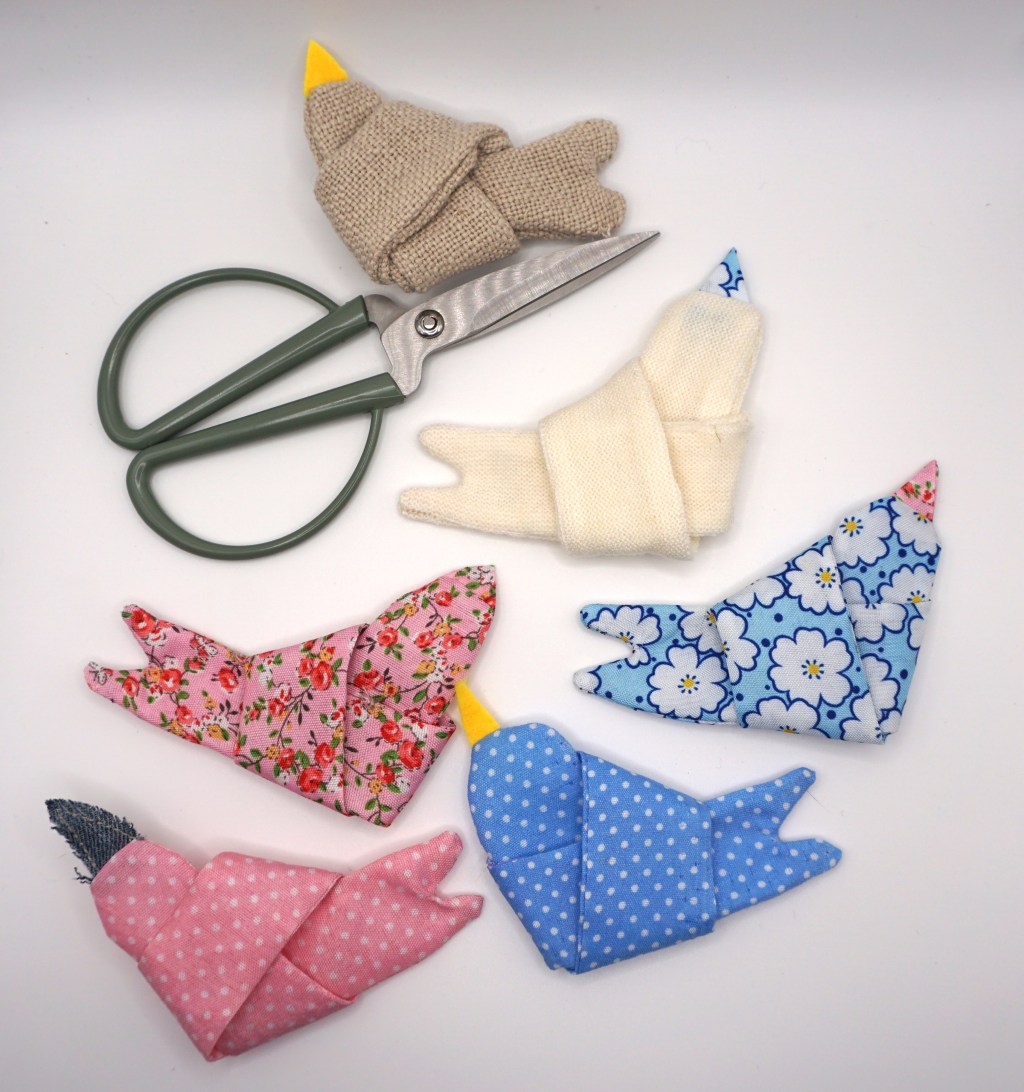
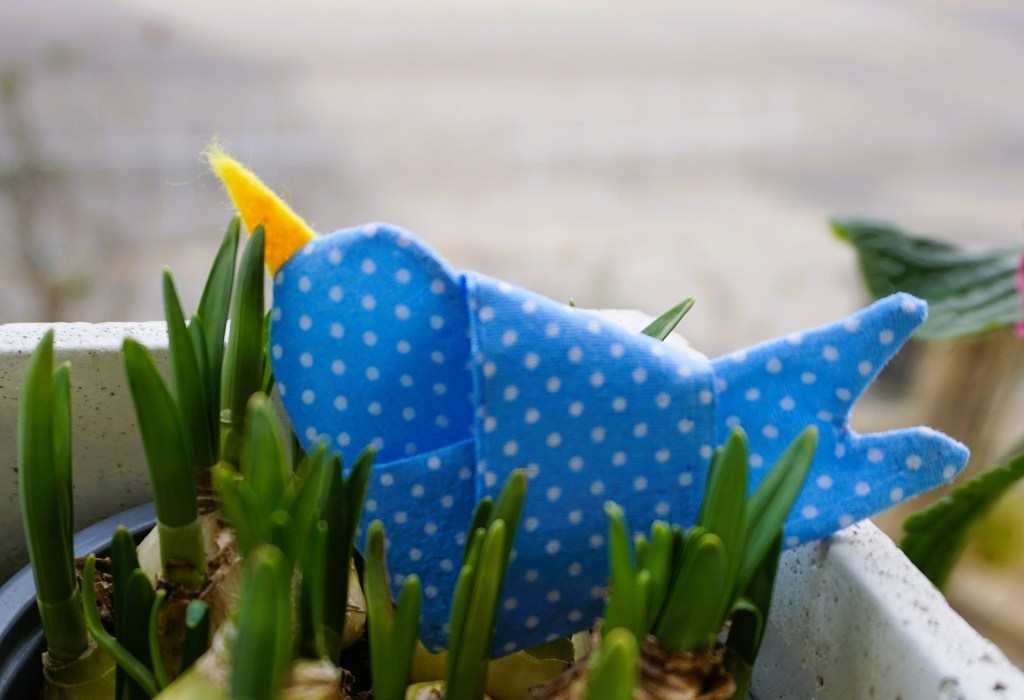
Maybe you already saw knotted paper birds on pinterest or somewhere else. I like them – they are cute, versatile and quickly made. But what I don’t like is that after a while they just don’t look beautiful anymore. Paper rips, krinkles and changes colours quite fast. So I came up with the idea of making these knotted birds out of fabric.


I experimented a bit with the fabric for you 🙂
You find the free printable sewing pattern here in this blog post.
What do you need for your knotted fabric birds?
- fabric scraps (at least 8cm x 25 cm)
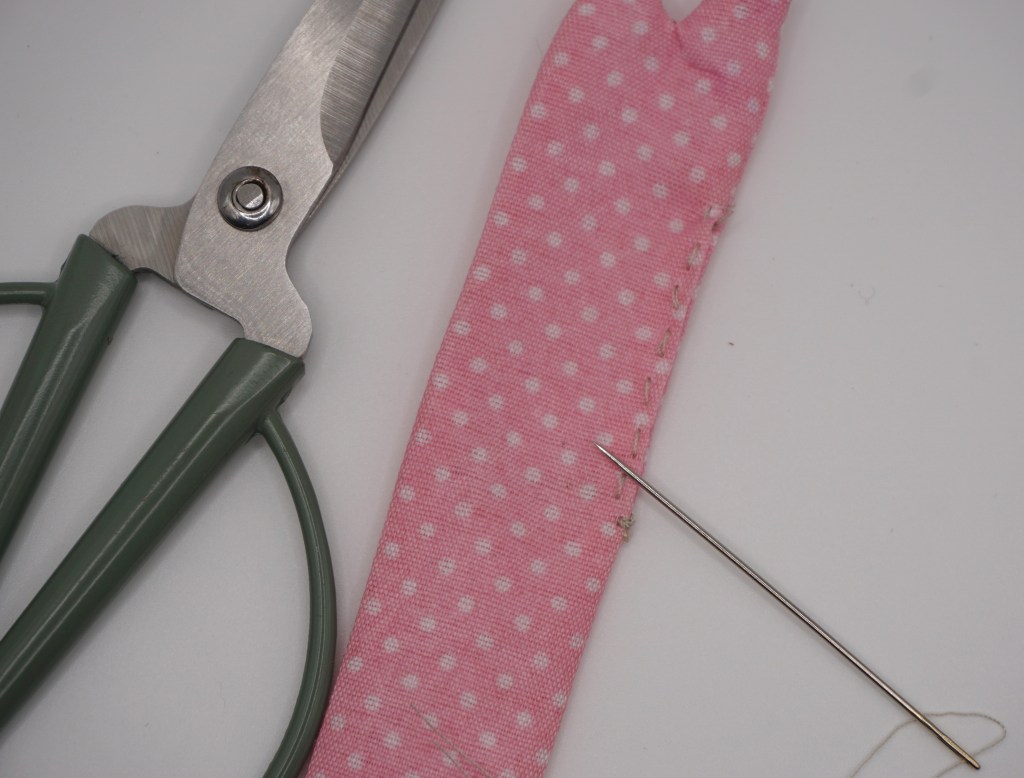
- scissors
- iron
- printed pattern
- a small piece of yellow felt or of another fabric
- sewing machine
- needle and yarn to close the hole
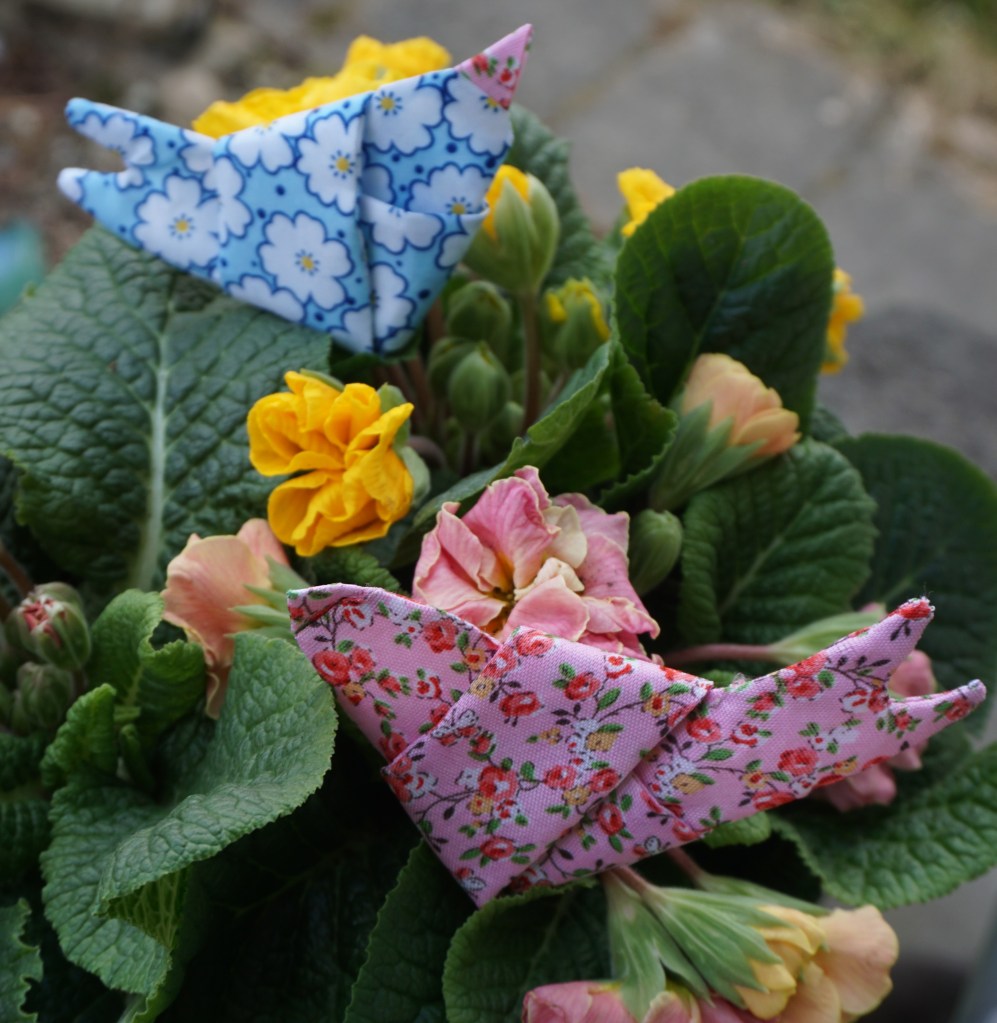
The knotted fabric birds are a perfect project to use up leftover fabric scraps, especially because I think it looks nice if every bird looks different. But of course you can also sew a handful of identical birds! Actually when it comes to the choice of colours, patterns and sorts of fabric you are really very free! Only very thin fabric is not really suited for this project.
What can you use the knotted fabric bird for?
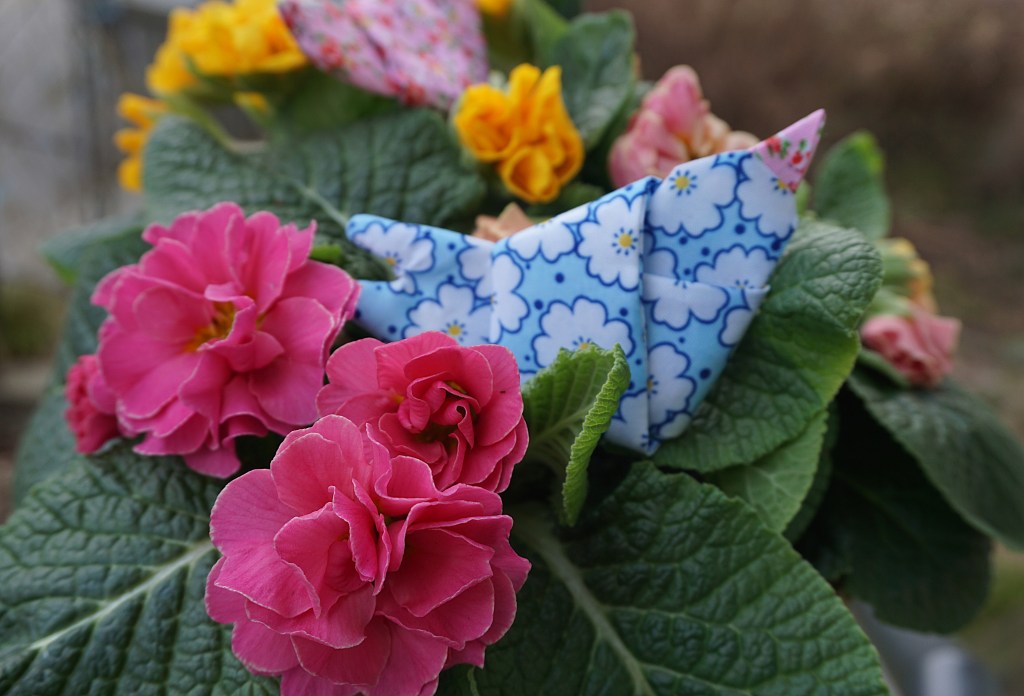
The birds look pretty on a spring wreath as well as on the spring-themed decoration on your table. Want to offer a cute gift to a dear person? What about a garland of knotted fabric birds? Or you could also just decorate the wrapped gift with a single bird.
You could even sew or glue your birds to hairclips – or to pins and use it as a fancy detail on your bag or spring-dress!
I like to just lay them to springflowers inside and outside my home. So simple, but I got a lot of compliments for it!
So let’s start crafting…!
At first, download and print the free pattern.
Choose your desired fabric and cut it out. Remember to add seam allowance as it is not included in the pattern. (In the picture I used my handdrawn pattern – the one I made for you to download is better and more exact)

Cut out yellow felt for the beak. If you don’t have or want that, I would recommend to fold a small piece of fabric so it gets a similar shape as in the pattern.

Pin the beak between the two bodypieces (right sides facing eachother) and sew your bird together. Leave the marked part open to turn it inside out after sewing.


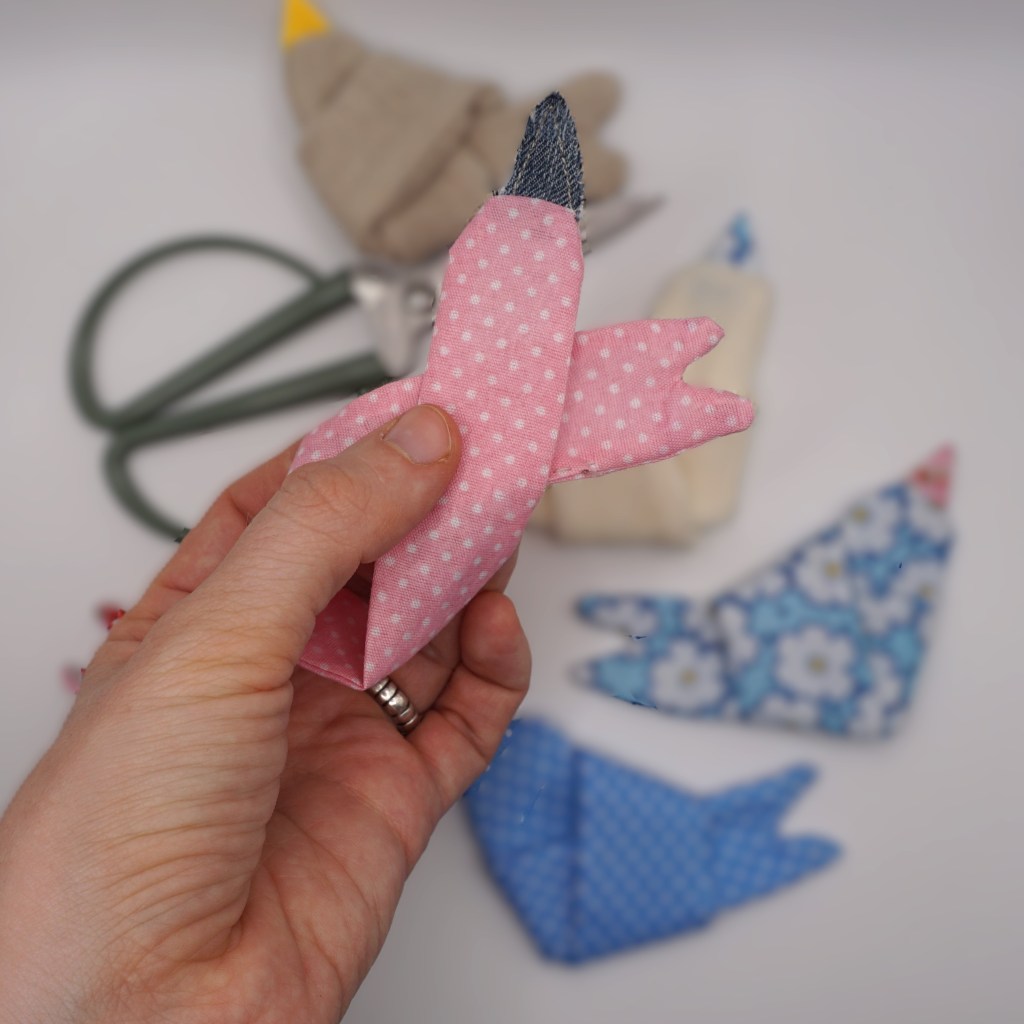
Turn it inside-out. Help yourself with a pencil or a small wooden stick to push out the tail.

Iron or press the bird and hand-sew the open part together. It doesn’t have to be perfect, because if you left the part open that is marked in the pattern, it will be hidden in the knot.
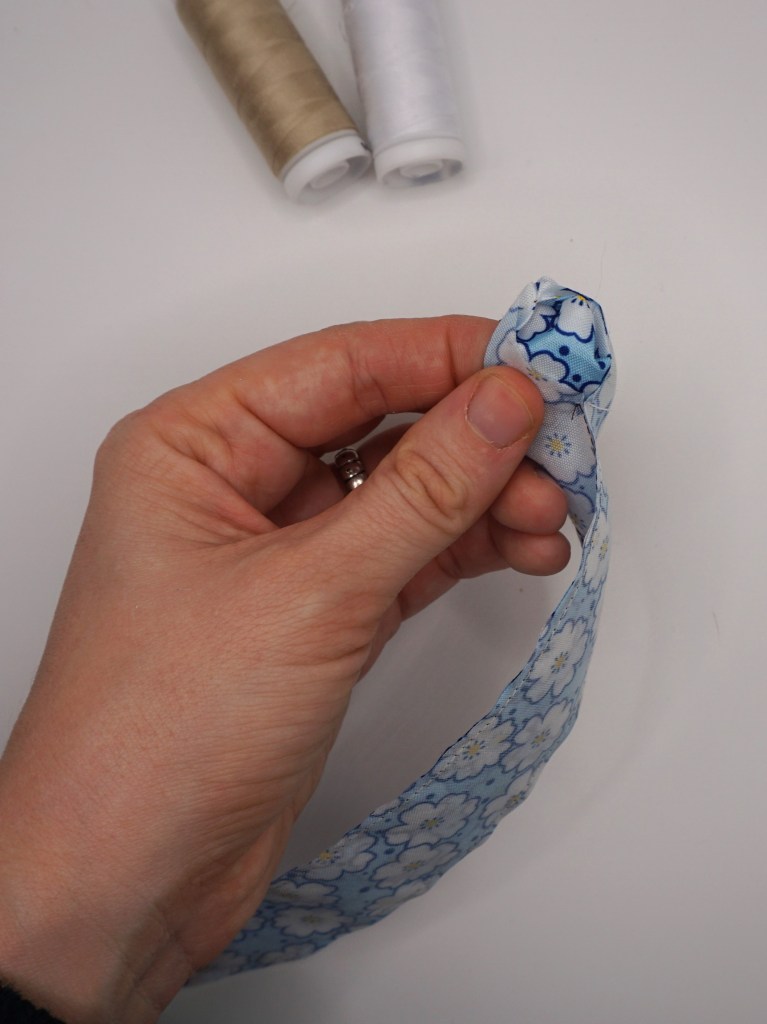
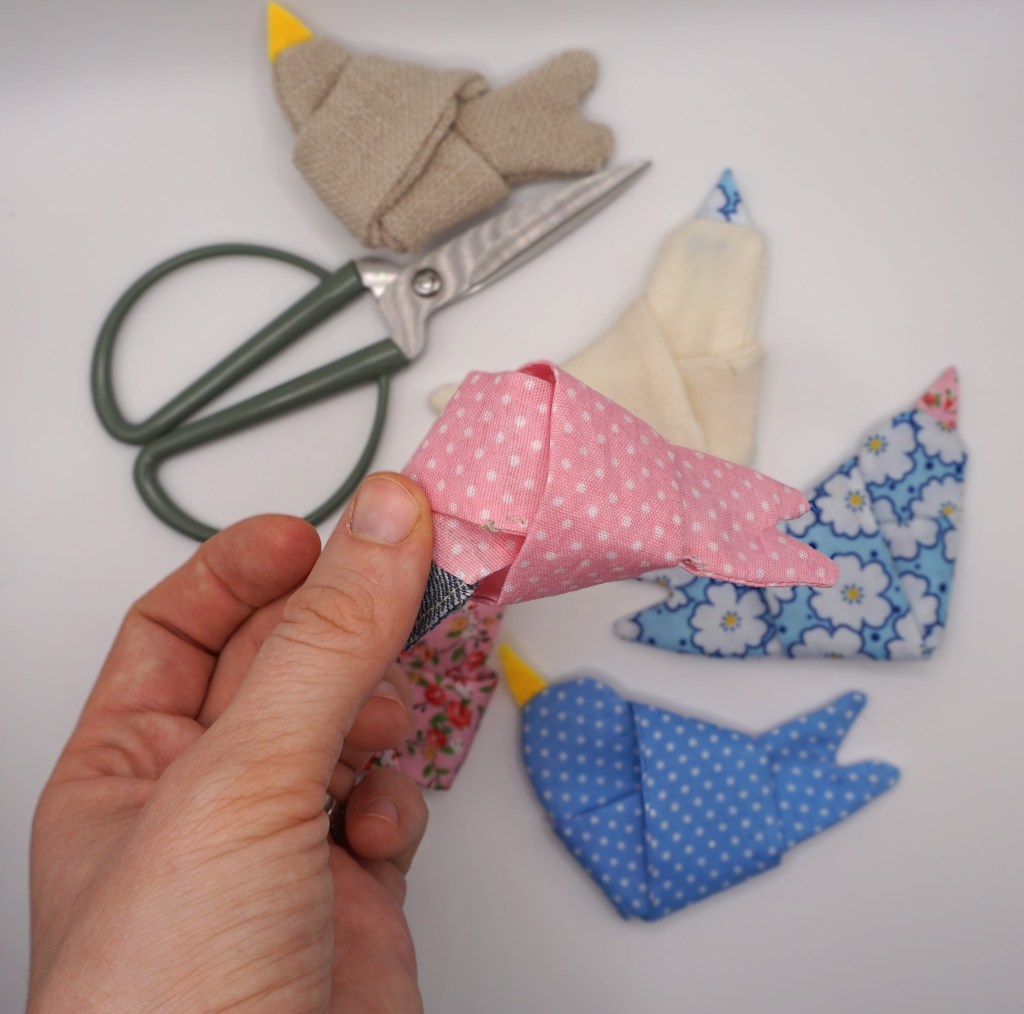
Now knot your bird like in the following pictures.
Pull the head through.
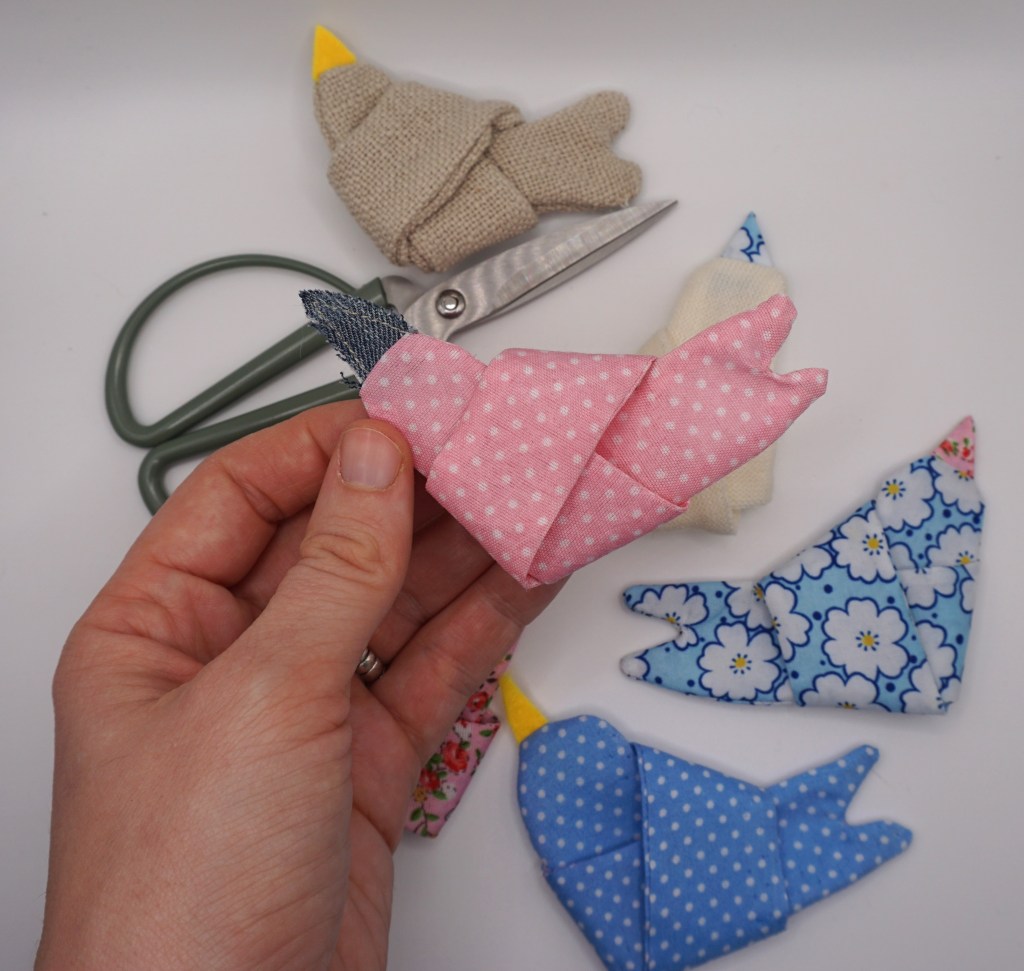
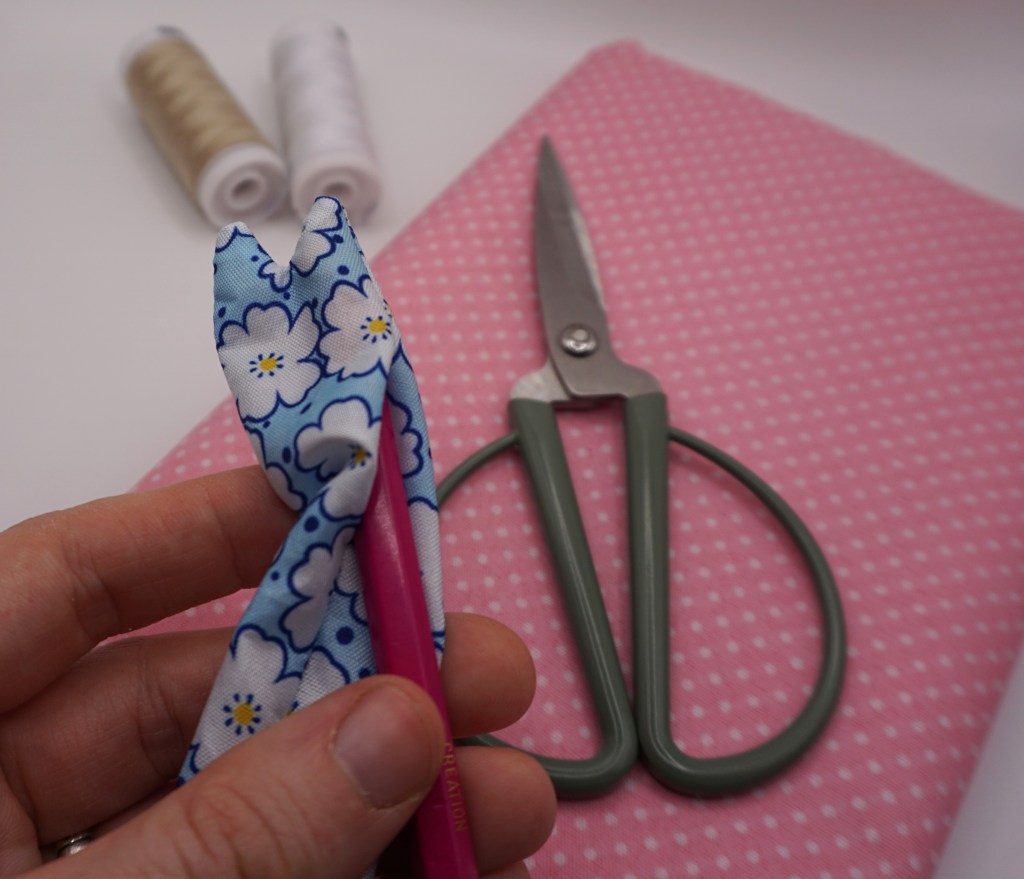
Contratulations! You finished your knotted fabric bird!
I hope you enjoyed it as much as I did! I would love to see your creation and to read in the comments what you think about my knotted fabric birds 🙂
Flurina

Leave a comment